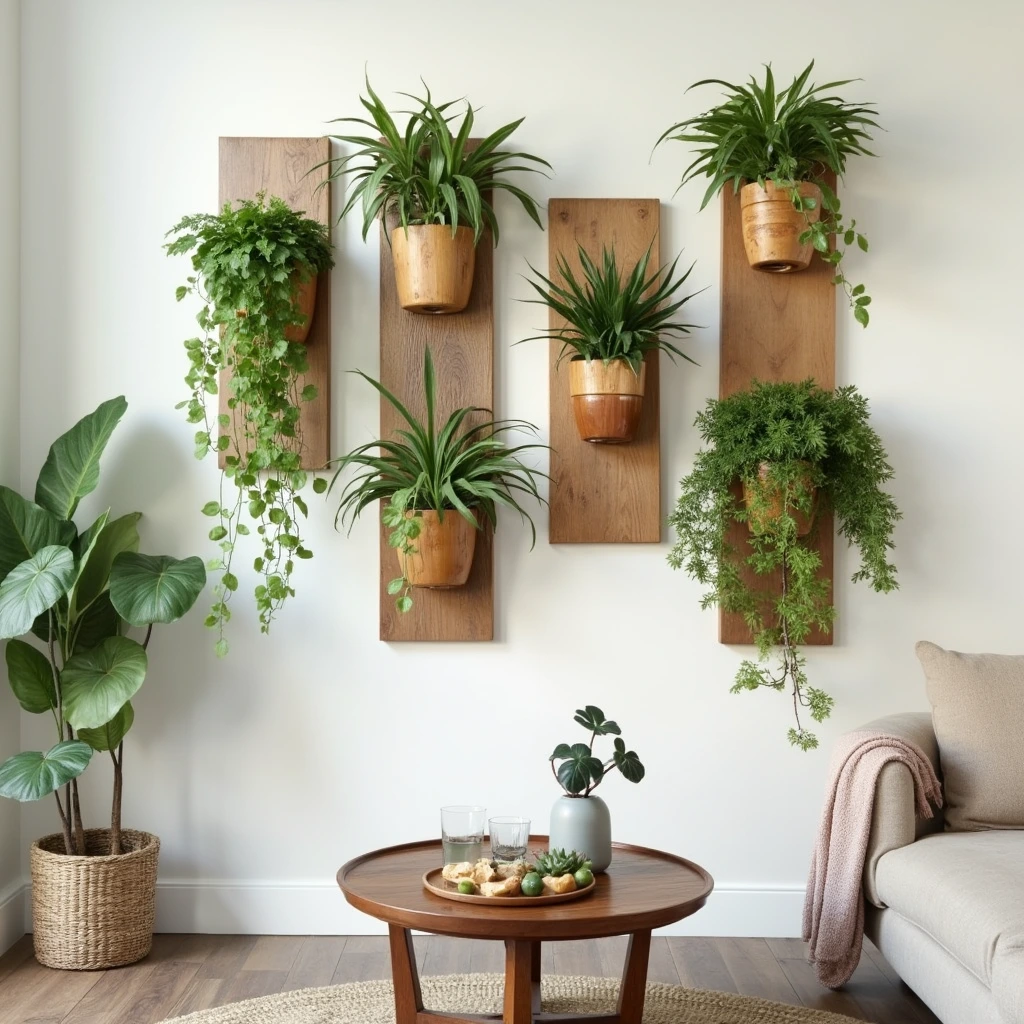
Rustic Charm: DIY Wooden Wall Planters
There’s something magical about walking into a room adorned with cascading plants mounted on wooden planters. As both a plant enthusiast and woodworking hobbyist, I’ve spent years experimenting with different designs for wall-mounted planters, and I’m excited to share everything I’ve learned about creating these stunning vertical gardens that bring life to any space.

Why Wooden Wall Planters Are Having Their Moment
The surge in popularity of wooden wall planters isn’t just about following trends – it’s a testament to our growing desire to bring nature indoors while maximizing space. These versatile pieces serve as both functional plant holders and striking wall art, perfect for urban dwellers and homeowners alike who want to add a touch of rustic charm to their living spaces.
Choosing the Perfect Wood for Your Planters
The success of your wall planter project starts with selecting the right wood. Through my experience, I’ve found these options work best:
Best Wood Types for Indoor Planters:
- Cedar: My top choice for its natural resistance to moisture and decay
- Teak: Expensive but incredibly durable and naturally water-resistant
- Pine: Budget-friendly and easy to work with, though requires proper sealing
- Oak: Sturdy and beautiful, perfect for heavier plants
Best Wood Types for Outdoor Planters:
- Redwood: Exceptional weather resistance
- Cypress: Naturally repels insects and withstands elements
- Treated Pine: Affordable option when properly sealed
Essential Tools and Materials
Before we dive into construction, let’s gather our supplies:
- Wood of choice (dimensions based on your design)
- Waterproof wood sealant
- Drill with various bits
- Screws and wall anchors
- Level
- Measuring tape
- Pencil
- Sandpaper (various grits)
- Wood glue
- Plant liner or plastic insert
- Optional: Wood stain or paint
Step-by-Step Construction Guide
- Design and Planning
Start by sketching your planter design. I recommend beginning with a simple rectangular box design, roughly 12″ wide × 6″ deep × 8″ high for most houseplants.

- Cutting and Assembly
Cut your wood pieces according to your measurements. Remember to add extra depth for drainage and a slight forward tilt (about 5 degrees) to prevent water from pooling against the wall. - Creating Proper Drainage
This is crucial for plant health. Drill several ¼” drainage holes in the bottom piece, spacing them about 2 inches apart. Add a slight groove between holes to facilitate water flow. - Weather-Proofing
Apply at least two coats of waterproof sealant to all surfaces, paying special attention to the interior. This step is non-negotiable for preventing water damage and extending your planter’s life.
Mounting Your Planter Safely
The number one question I get is about secure mounting. Here’s my foolproof method:
- Locate wall studs using a stud finder
- Mark mounting points, ensuring they’re level
- Pre-drill holes in both the planter and wall
- Use heavy-duty wall anchors rated for at least twice your planter’s expected weight
- Mount using lag screws into studs where possible
Pro Tip: Add a small rubber spacer between the planter and wall to promote airflow and prevent moisture buildup.
Selecting the Right Plants
Not all plants thrive in wall planters. Here are my top recommendations:
For Indoor Planters:
- Pothos: Nearly indestructible and beautiful trailing vines
- Snake Plants: Perfect for vertical growth
- Spider Plants: Creates dramatic cascading effects
- ZZ Plants: Tolerates low light and irregular watering
For Outdoor Planters:
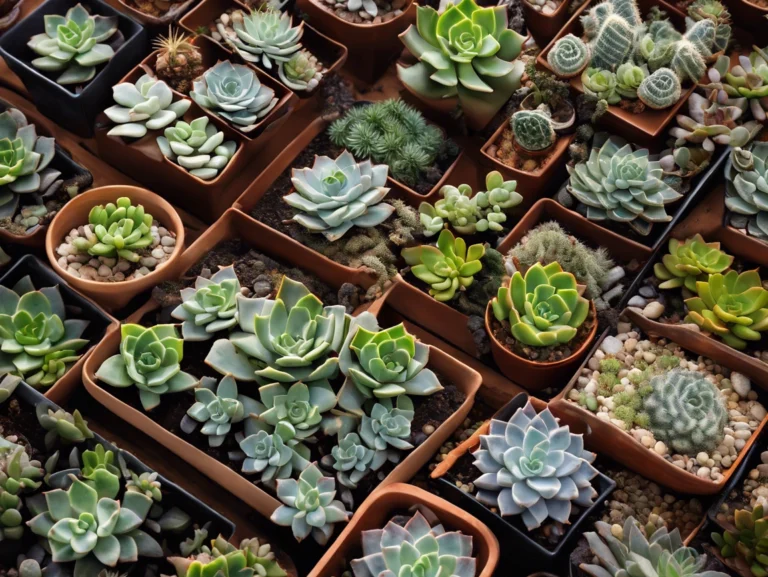
- Succulents: Low maintenance and drought-resistant
- Herbs: Perfect for kitchen walls
- Small Ferns: Adds lush greenery
- Trailing Vines: Creates dramatic vertical interest
Maintenance Tips for Long-Lasting Beauty
Maintaining your wooden wall planters doesn’t have to be complicated. Here’s my regular care routine:
- Weekly Checks:
- Monitor soil moisture
- Check for any water damage on walls
- Ensure drainage holes aren’t clogged
- Monthly Tasks:
- Inspect mounting hardware
- Clean any dust or debris
- Prune plants as needed
- Seasonal Care:
- Check sealant integrity
- Deep clean planters
- Rotate plants if needed for even growth
Creative Design Ideas
Let’s explore some inspiring ways to incorporate wooden wall planters into your space:
- The Living Wall
Create a full wall installation using multiple planters in varying sizes. This works beautifully in bright rooms with high ceilings.

- Kitchen Herb Garden
Mount smaller planters in your kitchen for fresh herbs. I use test tube-style planters for individual herb specimens. - Geometric Patterns
Arrange hexagonal or triangle-shaped planters in patterns for a modern look. This style works particularly well with succulents. - Mixed Media Installation
Combine wooden planters with macramé hangers and floating shelves for an eclectic bohemian vibe.
Troubleshooting Common Issues
Even experienced DIYers encounter challenges. Here are solutions to common problems:
Water Damage Prevention
- Install a clear plastic liner
- Use silicon caulk around edges
- Maintain air circulation between planter and wall
Weight Distribution
- Use multiple mounting points
- Install into studs whenever possible
- Consider weight limits for drywall anchors
Plant Health Issues
- Ensure adequate drainage
- Monitor light conditions
- Adjust watering schedule seasonally
Sustainable Practices
As a advocate for sustainable living, I recommend these eco-friendly approaches:
- Use reclaimed wood when possible
- Choose local, sustainable wood sources
- Opt for non-toxic sealants and finishes
- Repurpose old planters for new projects
Cost Considerations
Building your own wooden wall planters can save money while ensuring quality. Here’s a basic cost breakdown:
Budget Planter (Basic Pine):
- Wood: $15-20
- Hardware: $10
- Sealant: $15
- Total: ~$45
Premium Planter (Cedar or Teak):
- Wood: $40-60
- Hardware: $15
- Sealant: $20
- Total: ~$95
Conclusion
Creating your own wooden wall planters is a rewarding project that combines craftsmanship with gardening. Whether you’re a seasoned DIYer or just starting out, these versatile pieces add character and life to any space while providing a perfect home for your growing plant collection.
Ready to start building? Remember to take your time with the preparation and waterproofing stages – they’re crucial for long-term success. And don’t forget to share your creations! I love seeing how others interpret these projects and make them their own.


